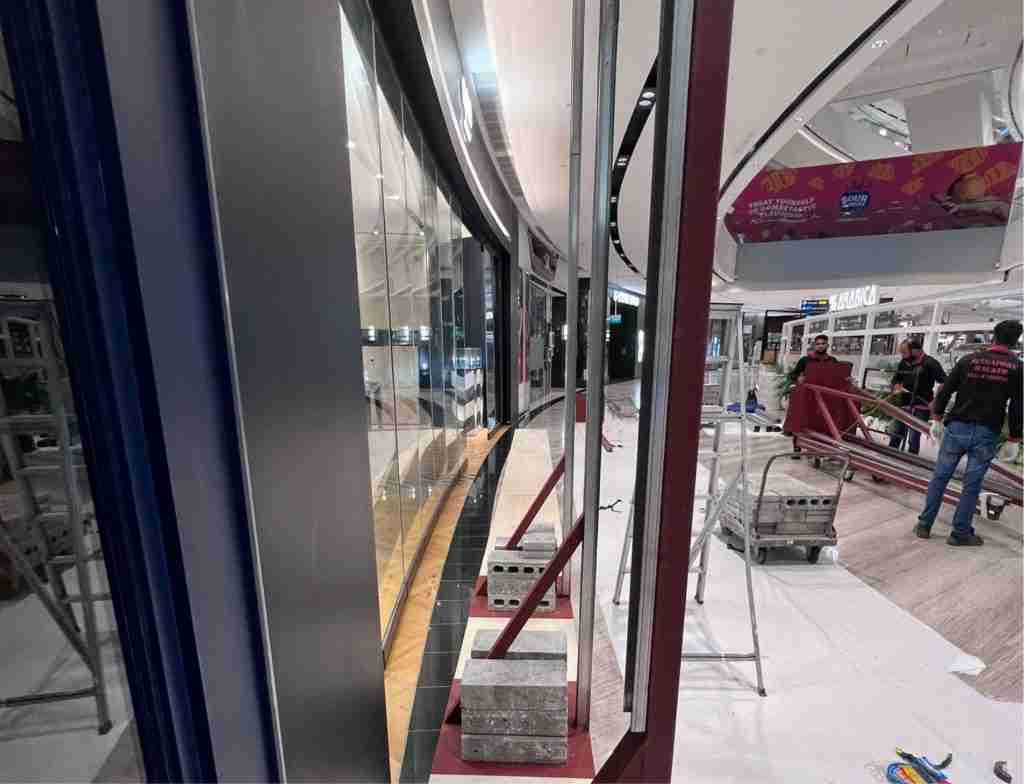
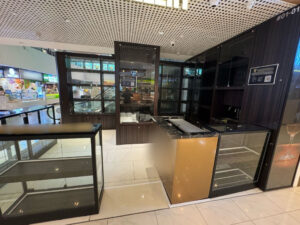
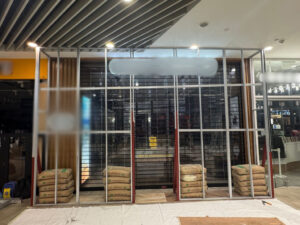
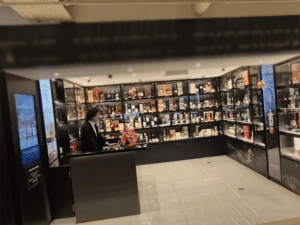
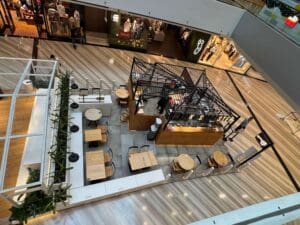
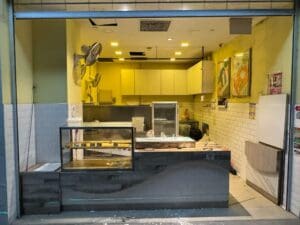
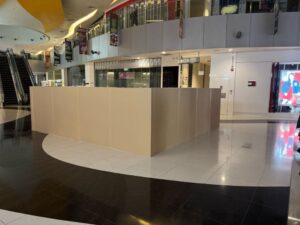
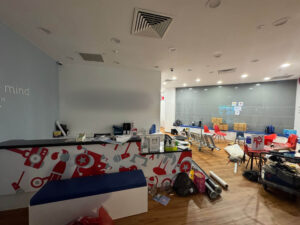
HOARDING BOARD INSTALLATION

HOARDING BOARD INSTALLATION

We have a variety of hoarding boards to suit your needs and budget. The hoarding boards we set up are of quality, and our workmanship is top-notch. This ensures that those who walk past the area, and the spaces surrounding it, are safe from the hazards of renovation, construction, or reinstatement. Your site will be kept looking neat and clean with the usage of our hoarding services.

Our hoarding board installation includes: 

  • Delivery of hoarding materials
  • Installation of hoarding board

  • On-site survey before installation

  • Ensuring hoarding boards are secure and reliable

Professional, and experts at what we do, why not contact us, and have a stress-free experience.

Hoarding boards are a popular choice for construction sites and other temporary barriers, as they provide a durable and cost-effective way to secure an area and protect the public from potential hazards. The process of installing hoarding boards can seem daunting, but with the right tools and a bit of know-how, it can be done easily and efficiently.

The first step in hoarding board installation is to prepare the area where the boards will be installed. This means removing any debris or obstacles that may be in the way, and making sure the ground is level and stable. It’s also important to check for any underground utilities that may need to be marked and avoided during the installation process.

Once the area is prepared, the next step is to lay out the hoarding boards in their desired location. This is typically done by using a string line to ensure that the boards are level and properly aligned. It’s also important to check that the boards are going to fit properly and that there will be enough space for any doors or openings that need to be cut into the boards.

With the boards in place, the next step is to attach them to the ground. This is typically done using ground anchors, which are driven into the ground using a hammer or power tool. The boards are then attached to the anchors using screws or other fasteners. It’s important to make sure the boards are securely attached and that they are not going to move or shift during use. What is usually done in Commercial units is that we will use weights to hold them in place as ground anchors will not be suitable.


Once the boards are securely attached, the next step is to install any additional features that may be required, such as doors, windows, or ventilation. This typically involves cutting openings into the boards and then attaching the appropriate hardware, such as hinges and latches.

Finally, the hoarding boards should be painted or coated with a protective finish to ensure that they are protected from the elements and will last for as long as needed.

Overall, hoarding board installation may seem daunting at first, but with the right tools and a bit of know-how, it can be done easily and efficiently. By following these basic steps, you can ensure that your hoarding boards are properly installed and will provide the protection and security that you need. And by having a good and robust installation, it will secure the public from hazards, as well as keeping the construction site as safe as possible and make sure the project timeline is met without delay.

In summary, Hoarding board installation is an essential process to protect the public, secure the construction site and ensure the project timeline is met. The installation process can be done easily and efficiently by preparing the area, laying out the boards, attaching them to the ground, installing additional features and coating them with a protective finish. It is important to have the right tools, follow the proper steps, and take the necessary precautions to ensure the hoarding boards are installed correctly, and they provide the protection and security you need.